bLoyal + Clover: Setup Guide
This guide outlines the step-by-step process for setting up bLoyal for your Clover POS system.
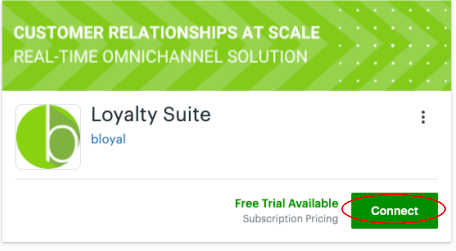
1. From the Clover App Market, download and connect the bLoyal App to your first Clover Device. You only need to download the bLoyal Suite to get started. The use of Gift Cards and Loyalty Dollars as a tender are optional and you will only need these additional Apps if you want to use these additional capabilities.

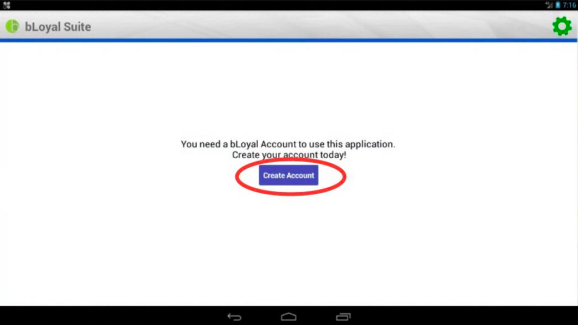
2. Open the bLoyal Suite App and click the “Create Account” button to get started.
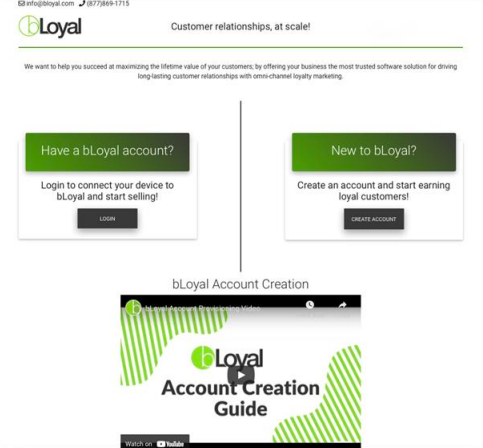
3. This will launch the bLoyal provisioning wizard.
- If you are new to bLoyal and do not have an Account yet, please click the “Create an Account” button and follow the wizard steps. The next sections in this guide detail the steps you will follow to create your new bLoyal Account, or you can watch the video at the bottom of the wizard.
- If you already have an Account and you are installing bLoyal on additional Devices, please click the “Login” button and follow the wizard steps.
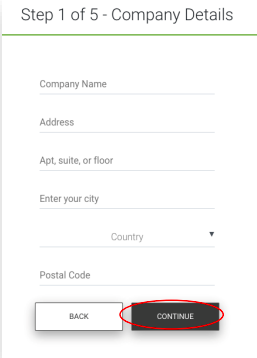
4. Next, you’ll be prompted to enter your Company Details
- Step 1 – Fill in the required fields, then click the Continue button.
- Step 2 – Fill in your Owner Details. This is used to log into bLoyal Director account, your new web-based back-office interface for your bLoyal account. Note: The Company Login Domain does not accept spaces or special characters.
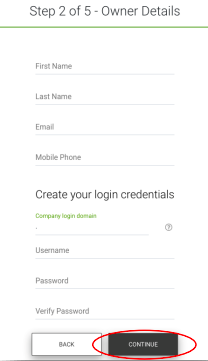
5. Once you confirm the information and click Continue, you will see that your account is processing. During this time, your bLoyal account will be generated in bLoyal Director, which will become your information hub. This process will take approximately 5-10 minutes.
- Note: Please do not close the page until the process is complete. If you need to use your browser during this time, you should open another tab so the account creation process can continue

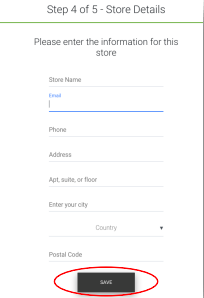
6. Once your account finishes set-up, you will be prompted to enter your Store Details in Step 4. Once you have filled in your information, please click the “Save” button. If you are setting u additional POS Devices, the setup wizard will bypass the previous steps and will take you directly here.
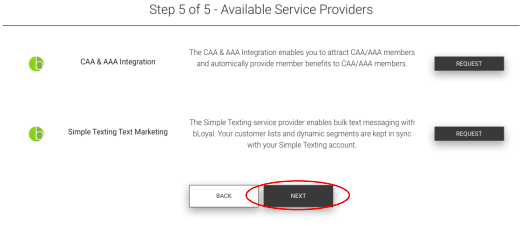
7. Step 5 is the last step in the process. This is where you select the optional Service Providers. Service providers can help you expand your integration with value-added services. After making your selection, someone from our team will contact you to help with the configuration:
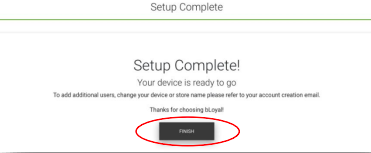
8. Once your Store has been created and the service providers are selected, you will receive the following success message. If you are creating your new Account, please click the “Launch bLoyal Director” button. If you are setting up additional POS devices you can simply close the wizard at this time.
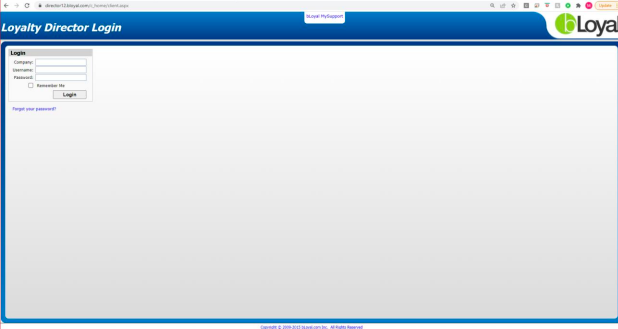
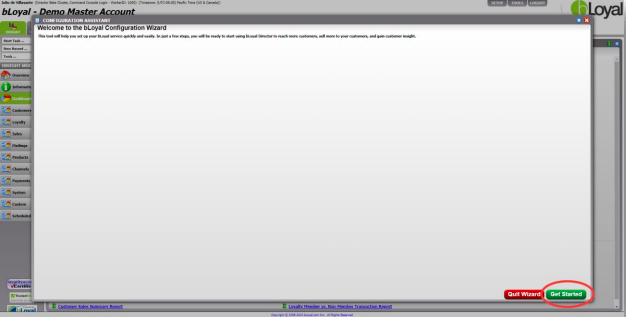
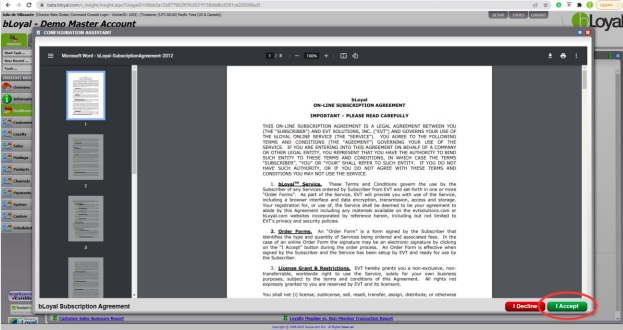
9. You can login to your new bLoyal Account with the credentials you used when creating you Account. Please login to accept the Subscription Agreement.
10. Thanks for creating your new bLoyal Account! We will contact you soon to assist you in completing your Account configuration to match your program needs.
IF YOU HAVE ANY QUESTIONS OR EXPERIENCE ANY ISSUES, PLEASE CONTACT: SUPPORT@BLOYAL.COM


